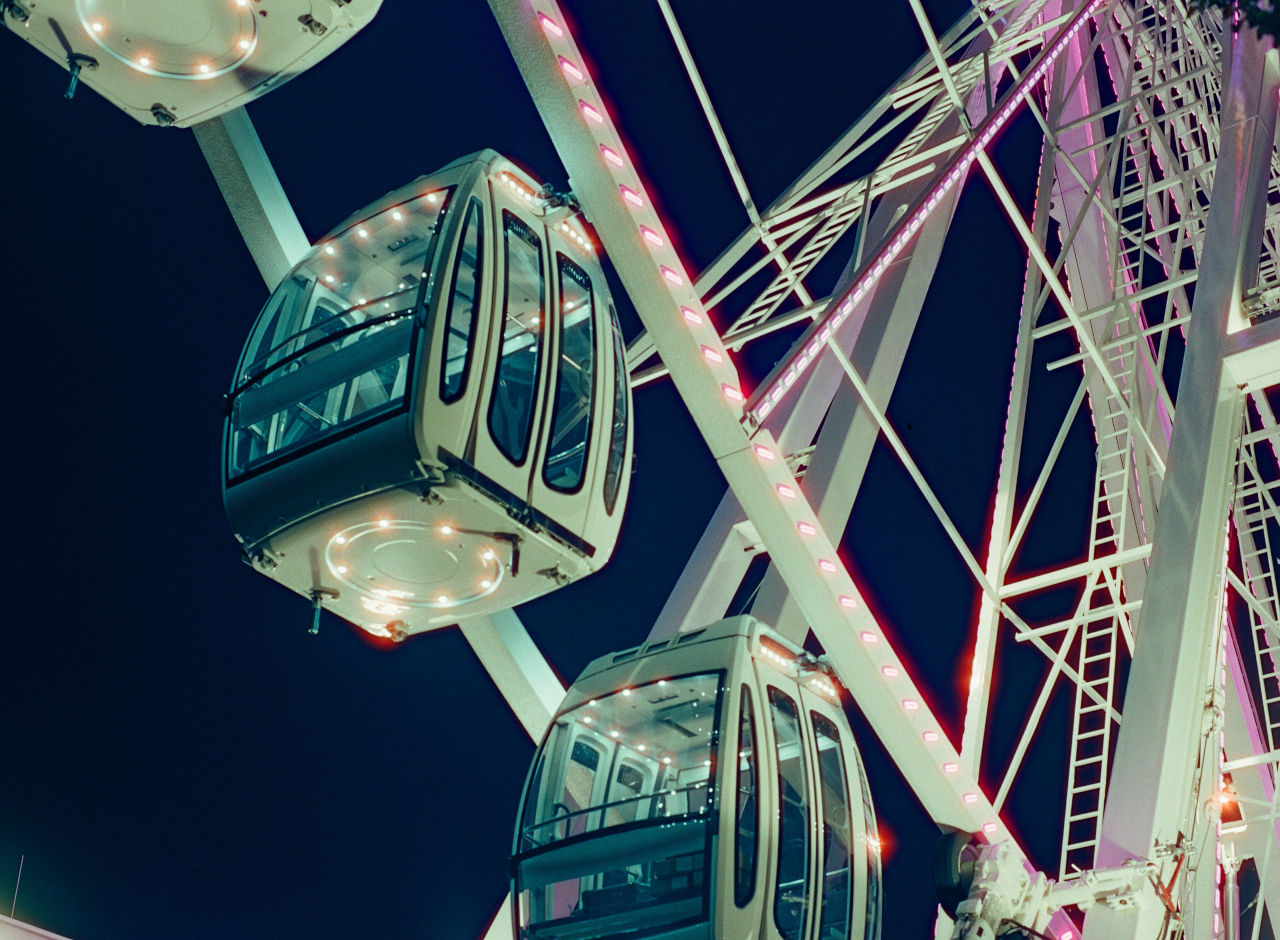
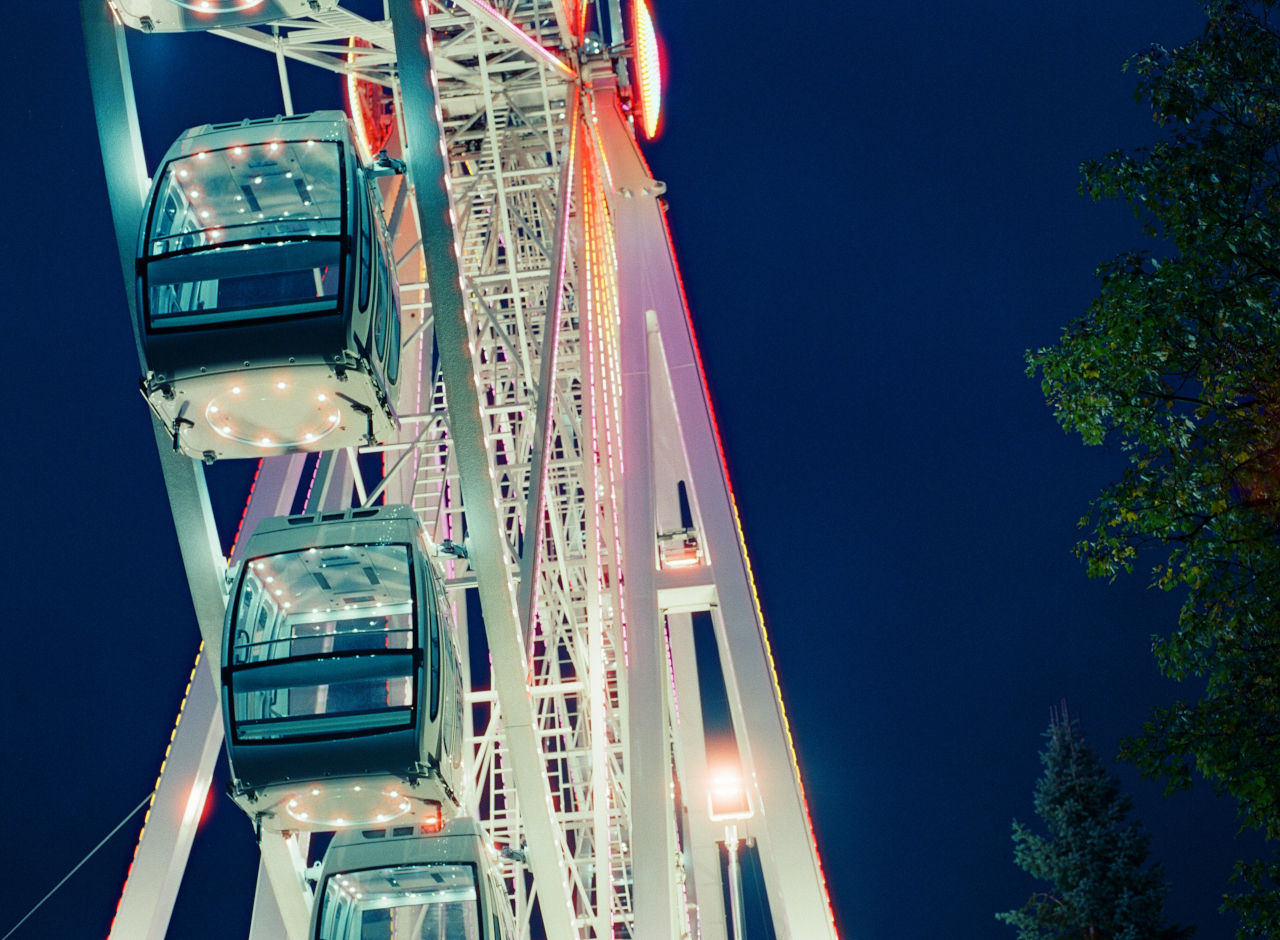
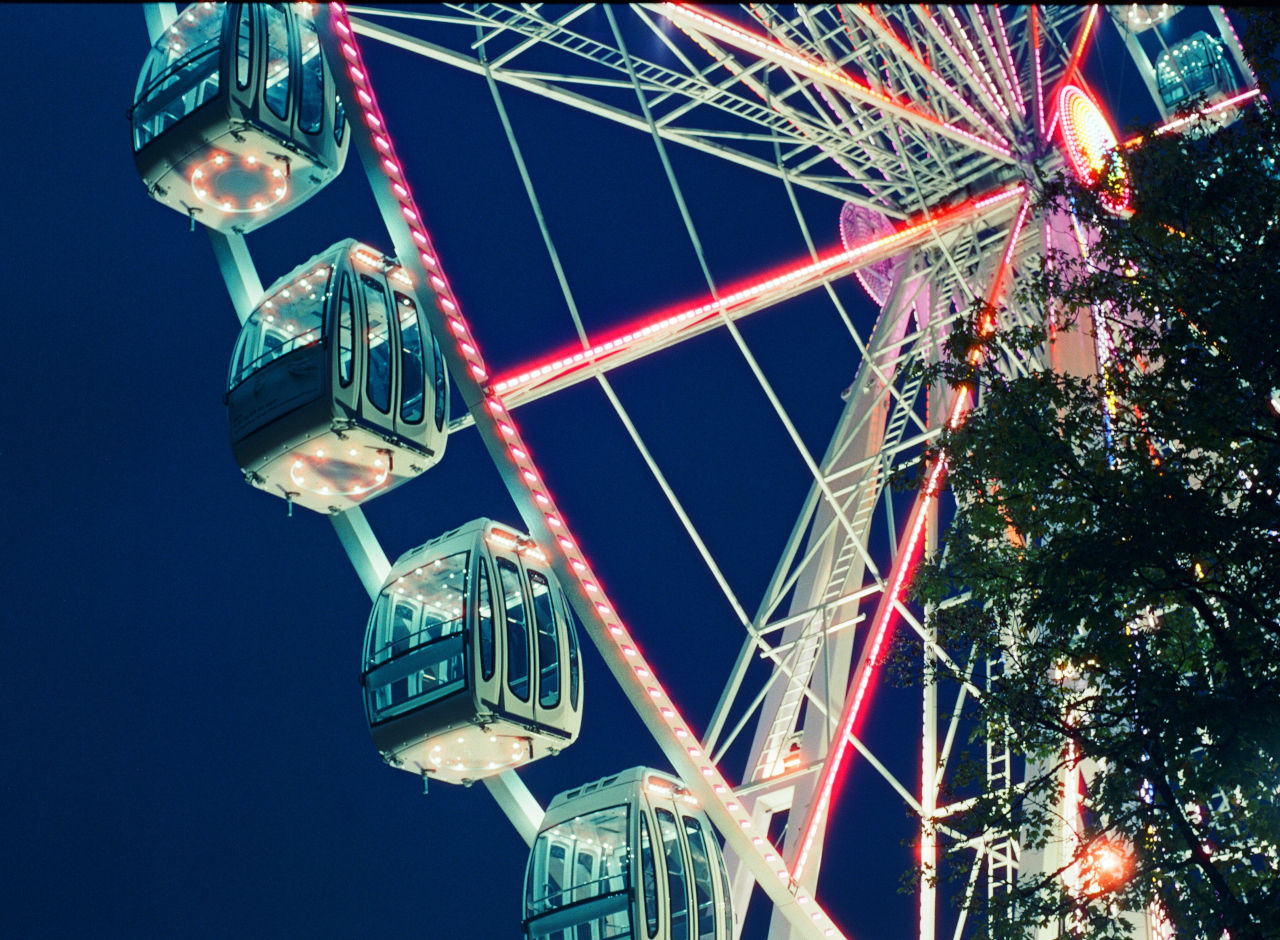
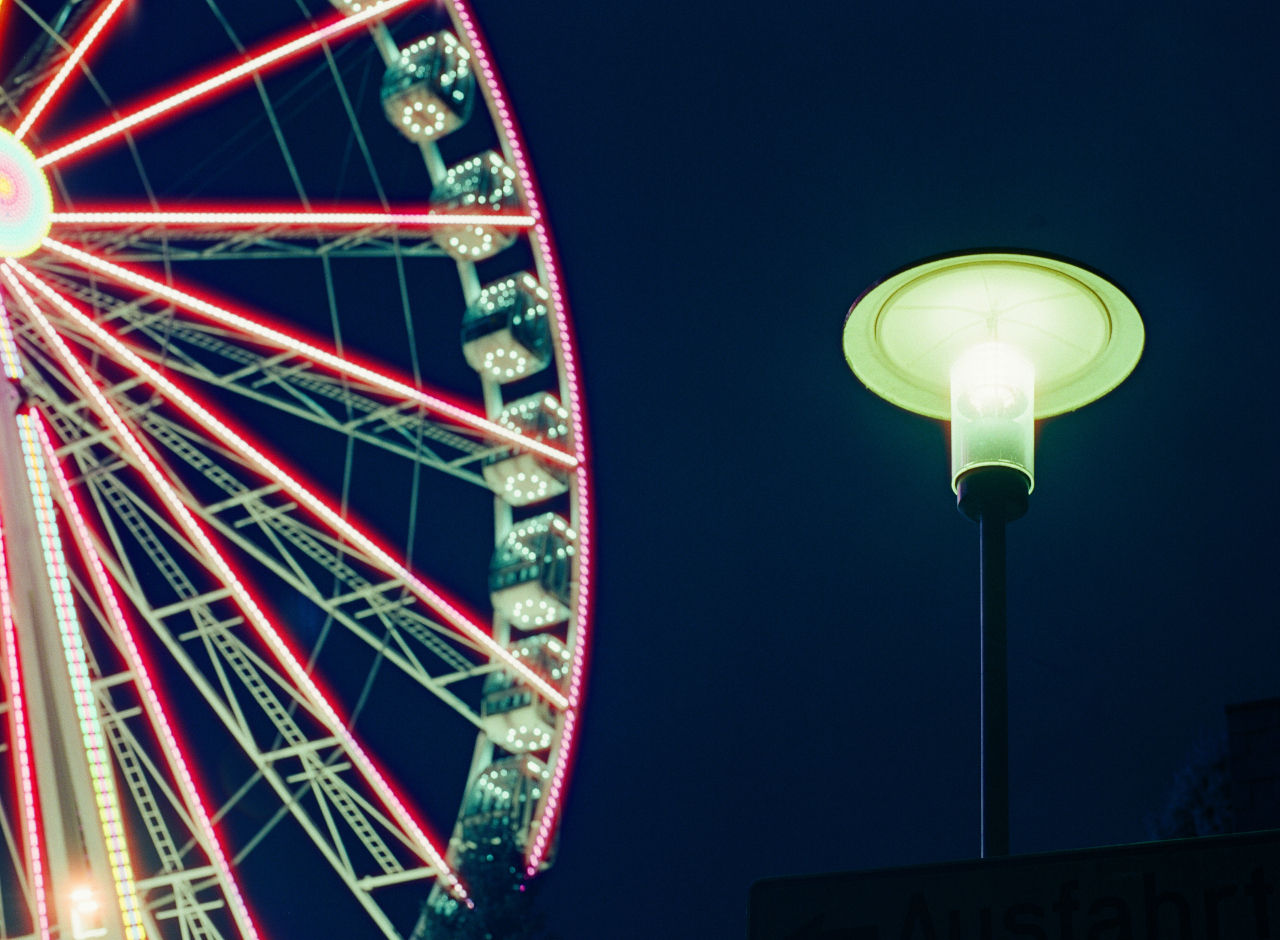
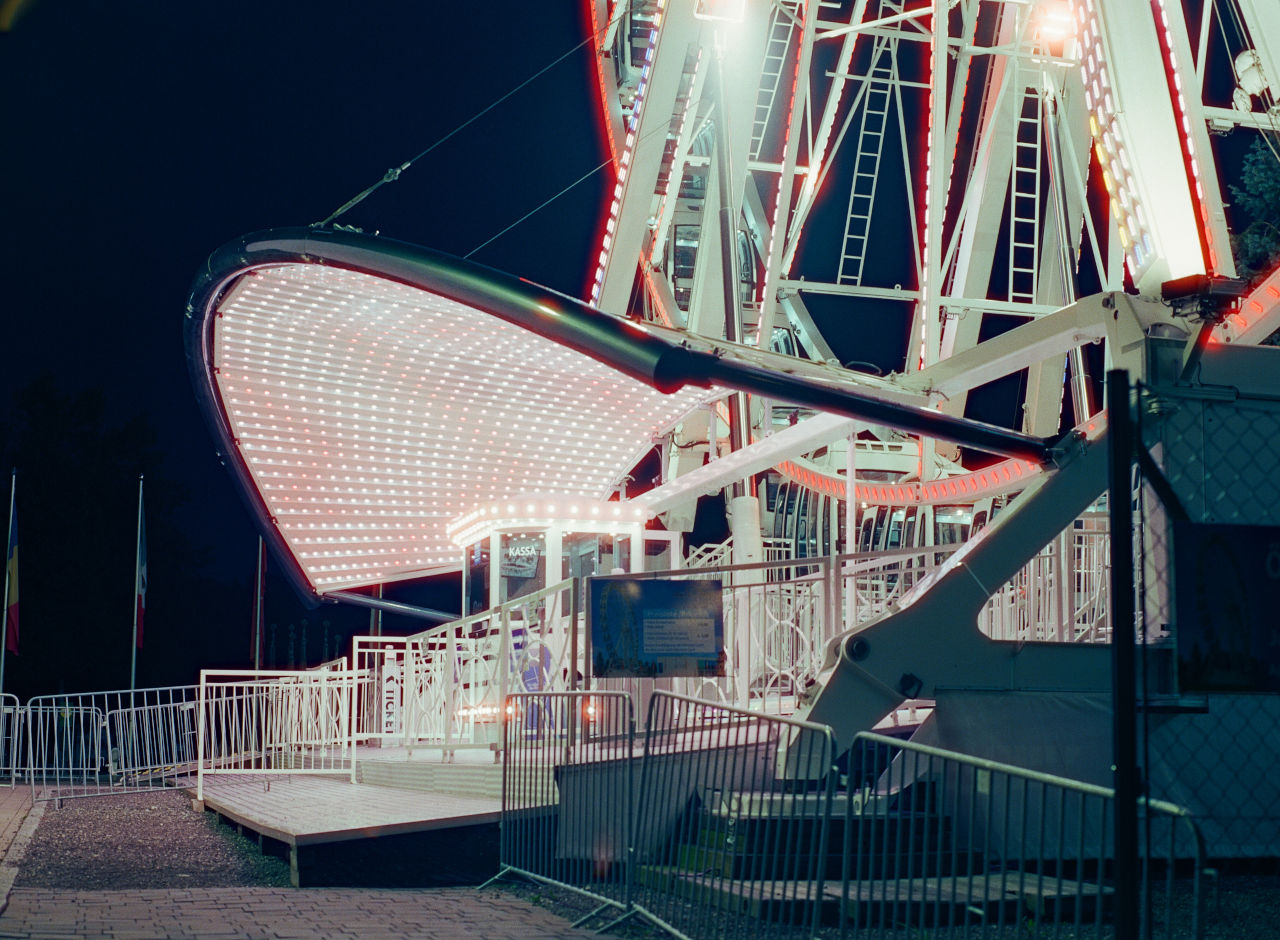
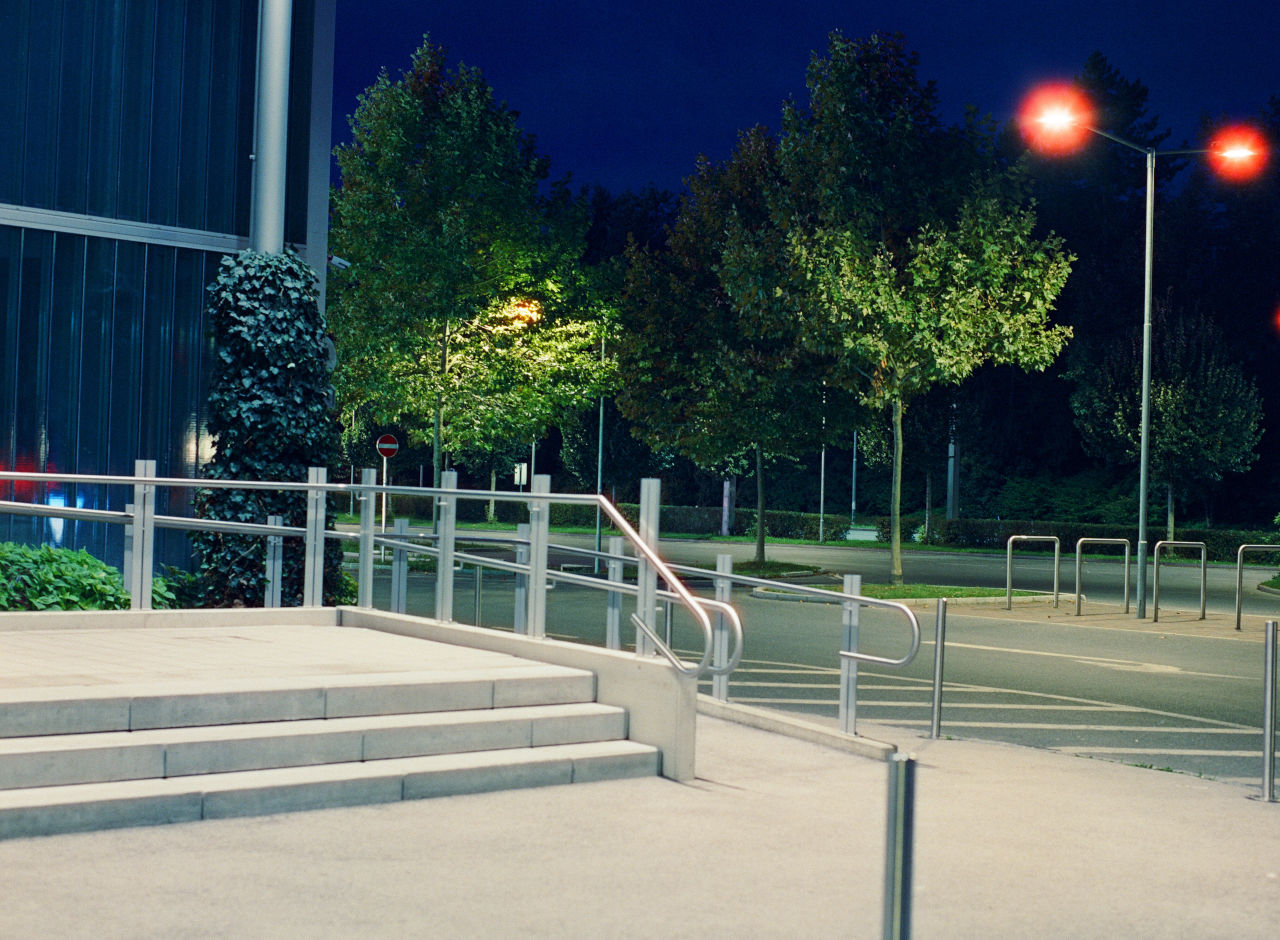
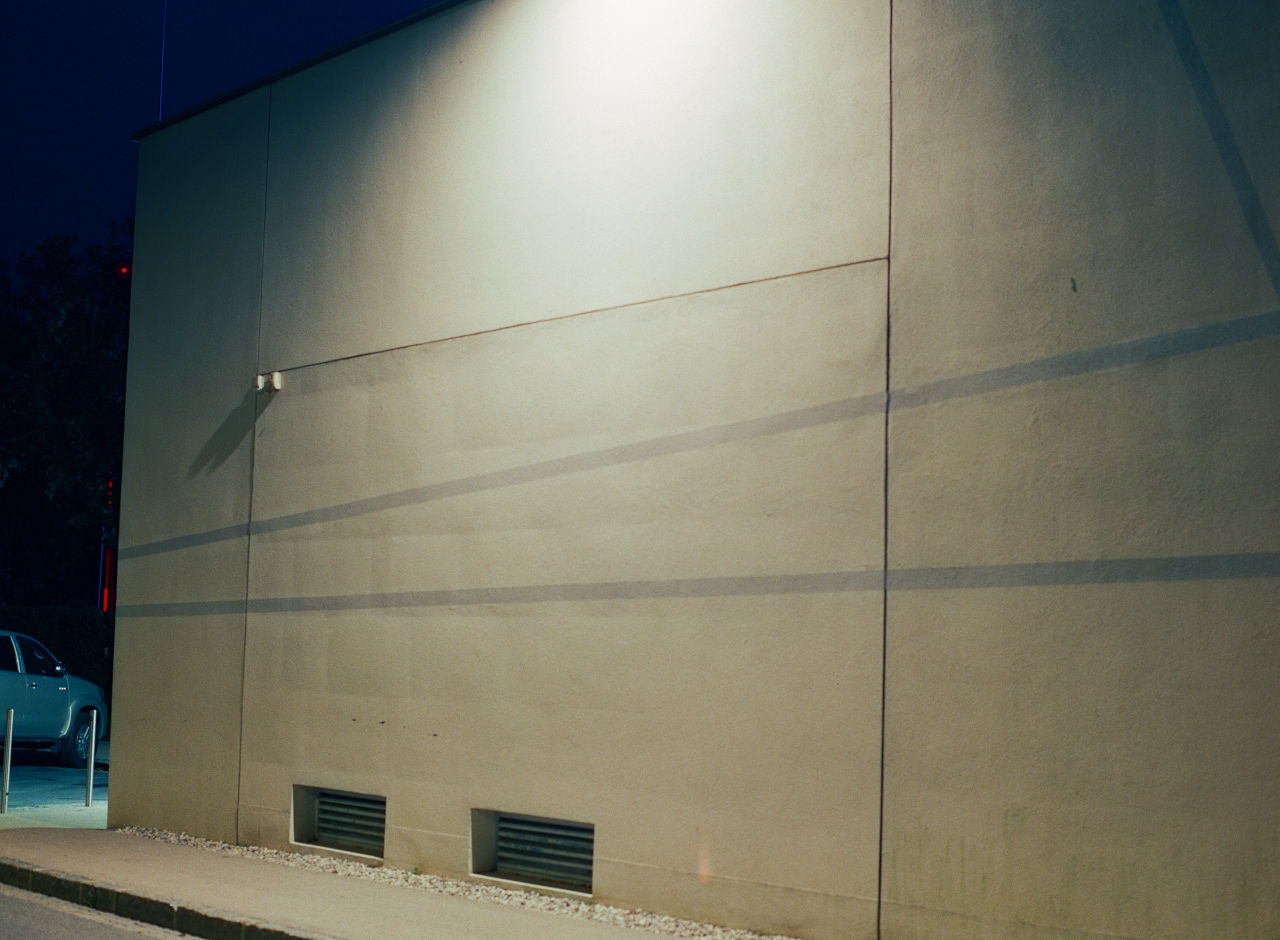
There are certain film stocks that are more special than others. One example is Cinestill 800T. It is basically motion picture film that got its remjet layer removed to make it safe for C-41 photo lab processing. Removing the remjet layer gives this film its characteristic look when it comes to artificial lights. You’ll see what I mean as soon as you look at the photos at the bottom of this post. It is also Tungsten balanced, which means it is balanced for artificial light. If you shoot it during a sunny day outside, your photos will will get a strange blueish color, which can be also nice, if this style is what you are going for. If you want a cinefilm that is meant to be shot during the day, there is also Cinestill 400D and 50D, which both are also great film stocks and worth a try.
Cinestill is expensive and since this film stock is meant to be shot in artificial light, which most of time means not ideal lighting conditions (gas stations at night are kind of THE most Cinestill thing there is), you should know what you are doing when using this film stock.
My night photography workflow
Most of this is basic night photography stuff and just the way I do it. First of all, I shot all of these photos using a Mamiya 645, one of my absolute favourite cameras, but this will work with any analog camera, which allows you to control focus, aperture and exposure time manually.
Even though Cinestill 800T is an ISO 800 film, you won’t be able to shoot at night without a tripod, so bring one, set it up, compose your shot, and set the focus.
I usually shoot photos like this at F8, which means my exposure times are always longer that 1 second. For the photos you see here exposure times were between 1 and 4 seconds, depending on the subject. You can estimate this, but you shouldn’t. Bring a light meter and meassure for the subject. This is the only way to make sure that the photos get exposed correctly. Do not meassure for the lights, always use the part of the subject that does not “glow”.
After you’ve got your exposure time meassuered and set, there is one more thing you’ll need: a cable shutter release to avoid any camera shake during these long exposure times.
Now everything is set and ready to go. Press the shutter release and hope for the best!